Check a single box in the Photobooth Setup Wizard to shoot and print square photos using Breeze DSLR Remote Pro 3.9.
Usually photo booth images are shot in ‘landscape’ mode; so that you can comfortably include several people in the shot. Sometimes we want to vary this.
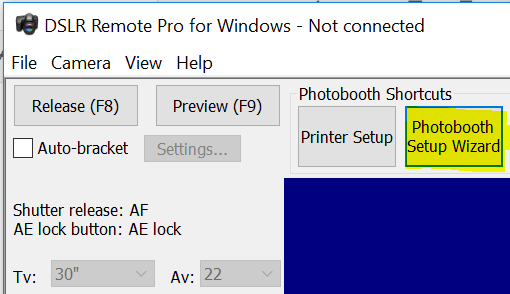
Run the Photobooth Setup Wizard
Start DSLR Remote Pro and run the Photobooth Setup Wizard (1) to set up a basic booth, selecting a square live view (2) at Step 2. DSLR Remote Pro allows you to customize your booth setup without connecting the camera.
Selecting square live view using the Photobooth setup Wizard: DSLR Remote Pro 3.9.1
In this example I have chosen a single photo (3) at Step 3.
Photoboth Setup Wizard: selecting a single photo DSLR Remote Pro 3.9.1
Customize the print layout
Opening the Print Layout Editor DSLR Remote Pro 3.9.1
When you open the Print Layout Editor you will see that the print layout is square. Customize your print as usual.
Square Photo layout in Print Layout Editor DSLR Remote Pro 3.9.1
Start the photo booth
Select Start Photobooth to run the booth DSLR Remote Pro 3.9.1
The Photobooth Setup Wizard has cropped both the live view and print layout for you.
Default ready screen for square photo DSLR Remote Pro 391.jpg
Square photos can be combined with filters to give a pop art effect, or used singly for a ‘polaroid’ look.
Ready for more? You can also create round (or any other shape) photos using a live view overlay and print overlay. You will need to create these overlays in an image editor such as Photoshop. The DSLR Remote Pro help files explain how to customize screens and prints in more detail.
PBPI delegates last month enthused about a pre-release version of the program. One even exclaimed “I’ve fallen in love with Breeze again”. I am delighted to announce the release of DSLR Remote Pro 3.9 on Valentine’s Day.
What’s new?
Improvements to the Photobooth Setup Wizard
Animated GIFs with soundtrack
Extra branding/ logo overlay for animated GIFs
Faster, higher quality green screen processing
Fix for issue with complex HTML emails
DSLR Remote Pro 3.9 supports most Canon DSLR cameras and runs on Windows 10, 8 and 7. This release is a free upgrade for all registered users who purchased a license on or after 15th February 2017. Customers with an older DSLR Remote Pro license (and any NKRemote license holder) can buy an upgrade license to use this release.
Photobooth Setup Wizard – a piece of cake with Breeze DSLR Remote Pro 3.9
Chris has improved the flow of the Wizard, making it a piece of cake to build a system offering guests choices (such as Photos or GIF), and run the booth with square or full screen live view as an alternative to normal landscape images.
New dropdown list to give guests choices (Photos/Boomerang GIF, Photos only, Boomerang GIFs only, Photo or video, Video only)
This drop down list is a super-fast way to set up the booth to offer guests choice (DSLR Remote Pro 3.9 Photobooth Setup Wizard Step 2)
New dropdown list to adjust live view
Live view drop down list – choose from normal, square and full screen (DSLR Remote Pro 3.9 Photobooth Setup Wizard Step 2)
Use the setup wizard to customize the live view. Changing the live view in the Wizard will automatically adjust the animated GIFs and prints created by DSLR Remote Pro 3.9.
New improved ready screen to choose from Photos or Animated GIFs
Check box for single ready screen (DSLR Remote Pro 3.9 Photobooth Setup Wizard Step 2)
Choose Photos or Boomerang GIFs and check Single ready screen so that guests start the booth and choose between still photos and boomerang GIFs from a single screen as here:
Ready screen generated by Photobooth Setup Wizard: choice of still photos or animated GIF, and full screen live view (DSLR Remote Pro 3.9 using simulated camera)
Shoot and share without printing
Running a ‘shoot and share’ booth with animated GIFs and no printing is increasingly popular. The DSLR Remote Pro 3.9 Wizard no longer asks you to select a printer when you offer only Boomerang GIFs or Video.
New animated GIFs with audio
You can now add an optional soundtrack to the MP4 copy of your animated GIFs. Learn more
Enhanced animated GIF branding with additional overlay
New: add a second overlay to animated GIFs with branding & logo. The additional overlay is an easy way to brand animated GIFs you have created yourself or sourced from third parties. Learn more
Greenscreen processing – higher quality and faster
Print higher quality green screened images more quickly. DSLR Remote Pro 3.9 green screen algorithms have been rewritten to be bothfaster and produce higher quality results. Greenscreen photobooth
Usually photo booth images are shot in ‘landscape’ mode; so that you can comfortably include several people in the shot. Sometimes we want to vary this.
This post explains how to create and print square photos using DSLR Remote Pro 3.7.3. Webcam Photobooth, NKRemote and PSRemote work in a very similar way. First we need to change the shape of the live view image; then change the print layout to match.
1. Start DSLR Remote Pro and run the Photobooth Setup Wizard to set up a basic booth, selecting a single photo at Step 1.
DSLR Remote Pro 3.7.3 main screen: Photobooth Setup Wizard button highlighted
2. Start the photo booth. DSLR Remote Pro allows you to customize your booth setup without connecting the camera. (NKRemote and PSRemote users connect and switch on the camera. Webcam Photobooth uses the PC’s internal camera if you have not connected an external camera.)
DSLR Remote Pro 3.7.3 main screen: Start Photobooth button highlighted
3. Crop the live view guests see by holding down the ‘shift’ key and pressing the cursor right arrow -> until the live view window is square. The amount of cropping is shown in the lower right corner of the screen. If you overshoot press ‘shift’ and the left arrow <- to reduce the cropping.
DSLR Remote Pro 3.7.3 : changing shape of Live View
4. Check the crop size to see whether the live view window is square: numbers in brackets show (width x height) of the live view.
DSLR Remote Pro 3.7.3 : 160 pixels have been cropped from each side of live view image to a create 640×640 square
5. Press <Escape> to exit Photobooth mode and select the large ‘Print Layout’ button to open the Print Layout Editor.
DSLR Remote Pro 3.7.3 main screen: Print Layout button highlighted
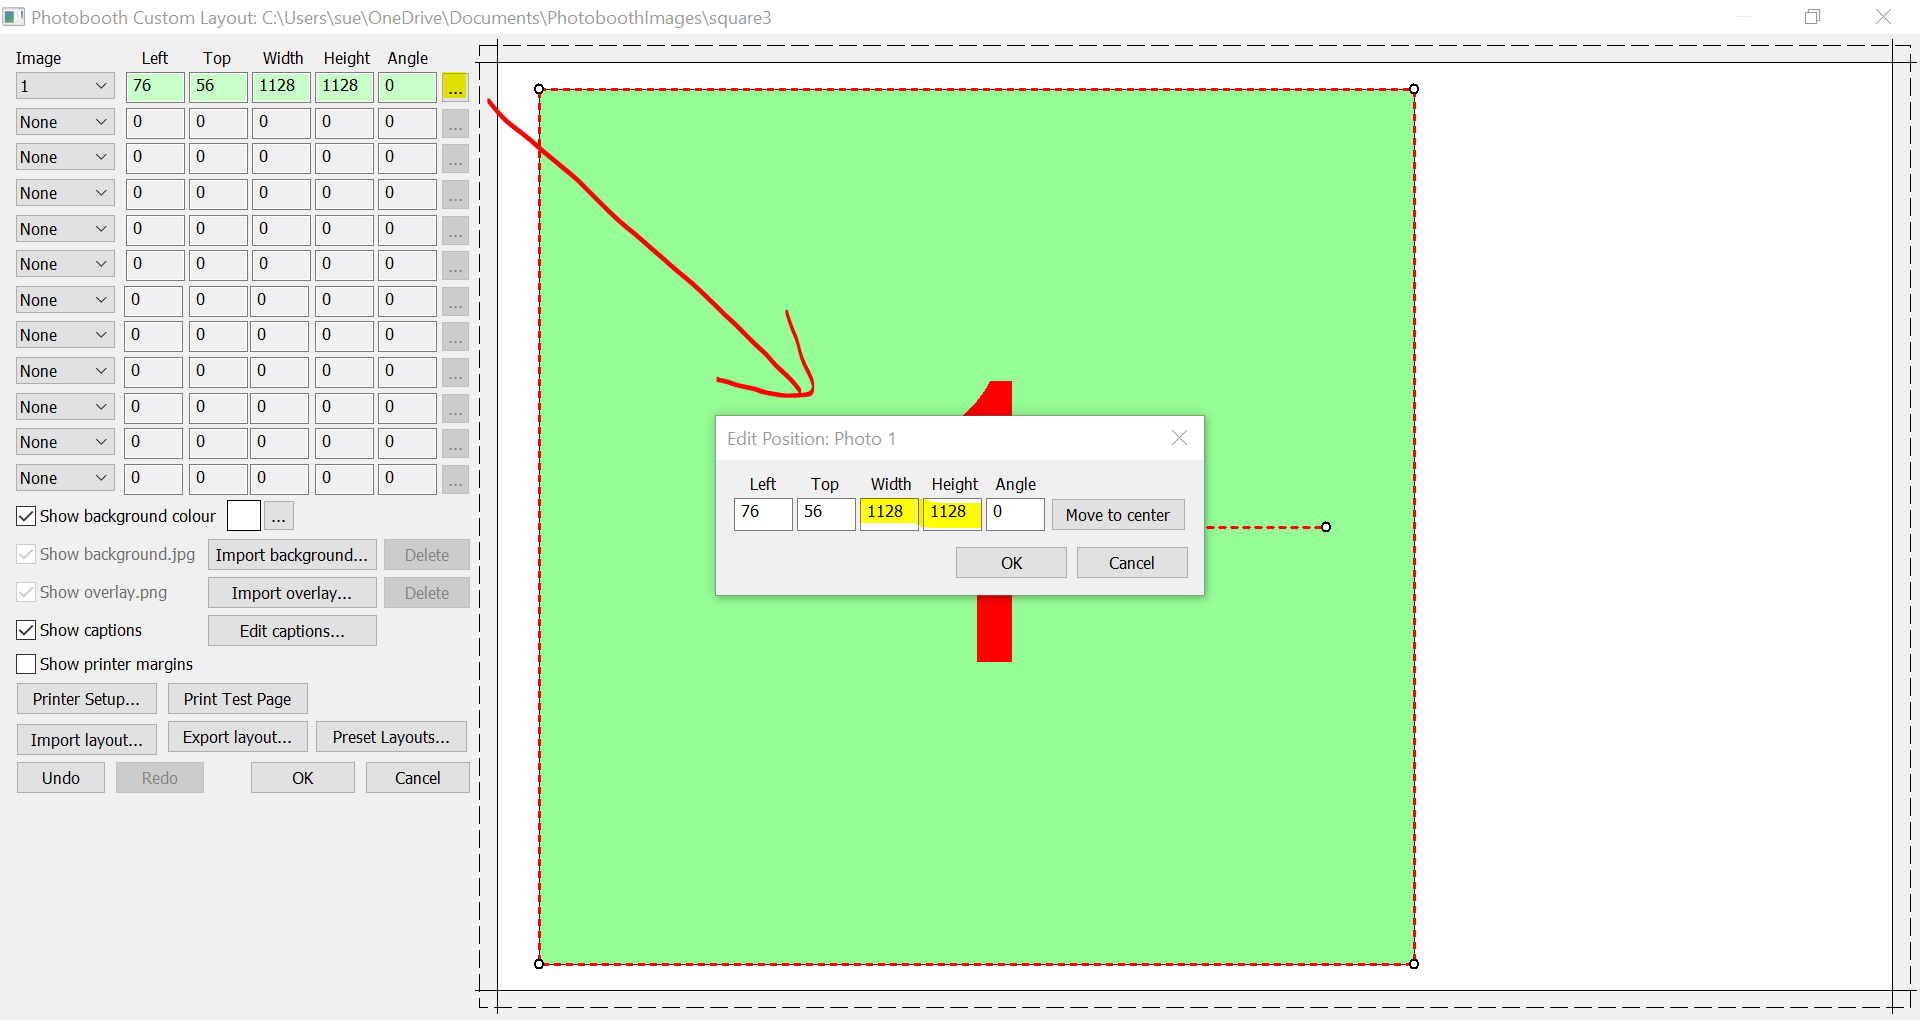
6. Right click on the photo in the print layout and select ‘Edit image position’. Set the image width and height to the same value to make the photo square.
DSLR Remote Pro 3.7.3 Print Layout editor: image on print cropped to square shape
7. Click OK, drag the photo to the required position and/or resize it by dragging the corners. Add any captions, background etc before exporting the layout to save your work.
Square photos can be combined with filters to give a pop art effect, or used singly for a ‘polaroid’ look.
This method can be used to create rectangular photos of any proportions you choose. More details.
Ready for more? You can also create round (or any other shape) photos using a live view overlay and print overlay. You will need to create these overlays in an image editor such as Photoshop. The DSLR Remote Pro help files explain how to customize screens and prints in more detail.


You must be logged in to post a comment.