
Did you know that there are several ways to add a simple consent screen or disclaimer to DLSR Remote Pro?
Data is usally collected using a survey. However there are simpler ways to ensure guests agree to disclaimers or terms and conditions at the start. This post runs through three alternatives:
- Add a disclaimer to the Welcome/standby screen
- Add a disclaimer to the Ready screen (with optional link to detailed T&C)
- Use a profile menu screen for the disclaimer
Note: All three methods provide a gate guests pass by answering one question. In the worked examples I use But first.. May we share your photos online. Replace this with any question which suits your purpose.
When you need guests to answer several questions, record or analyze their responses, use a survey instead.
Use the welcome/standby screen

To query consent at the standby screen,:
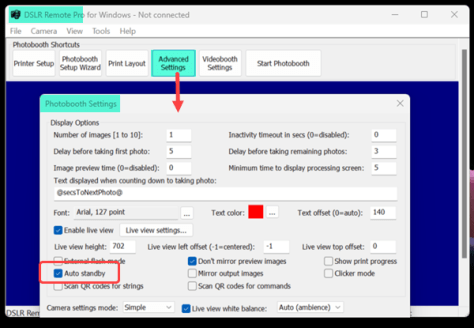
- Check Auto standby in Advanced settings
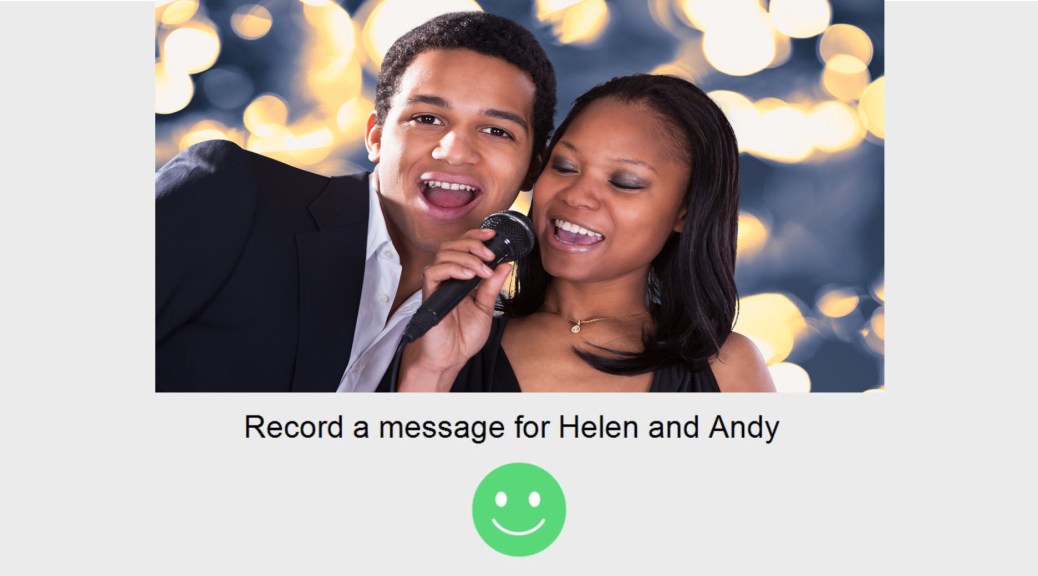
- Add a suitable graphic called welcome.jpg to the PhotoboothImages folder
- Add the touchscreen action to switch from standby to your Ready screen
Check Auto standby
Auto standby returns the booth to the Welcome screen instead of the Ready screen at the end of each session.
Start DSLR Remote Pro and click on Advanced Settings. Check Auto standby and save your changes.
Add your welcome.jpg
Make your graphic a jpg image which is the same size as your screen (in pixels). Call the graphic requesting consent to use the photos welcome.jpg and add it to your PhotoboothImages folder.
To attract attention, you can also animate the screen. How to animate screens.
Add the touchscreen action
Add the touchscreen action Switch from standby to ready to welcome.jpg

Use the Ready screen ready.jpg
You can ask the same question on the ready screen instead of the standby screen.
You can also link from the ready screen to Information pages providing detailed term and conditions.

Guests clicking Yes! starts the countdown. Guests choosing No are returned to the standby screen. Guests clicking Maybe are shown information screen(s).
In the example above, ready.jpg is white with Yes, No and Maybe buttons. (Maybe is optional and links to information screens.)
ready_overlay.png provides the question text on a transparent background so that it shows in front of the live view.
Make sure both ready.jpg and ready_overlay.jpg are the same size in pixels as the screen.
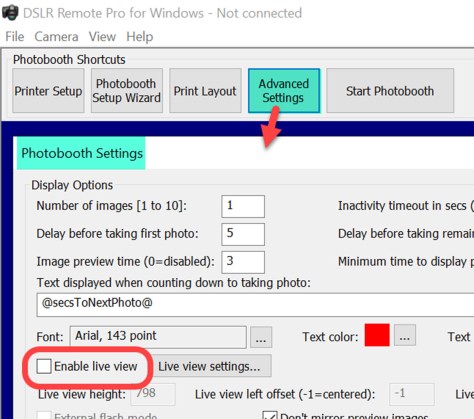
You may prefer to switch off live view in the ready screen by checking Disable live view in ready screen in Live View Settings.

Add the touchscreen actions
You need to add three touchscreen actions to the ready screen.
- Add action Photo start to the Yes! button
- Add action Switch from ready screen to standby to the No button
- Add action Photo info open to the Maybe button

Learn how to add information screens here
Use a profile menu
This option may be preferred by advanced users comfortable with profiles. If you are not familiar with profiles, use one of the approaches above.
Build a menu profile asking May we share your photos… ?
Use
- Yes/accept to take the guest to the ready screen of a second profile.
- No/reject returns the guest to standby using the Switch from ready to standby action
- Maybe takes the guest to information screen(s) as above
Before you leave…
Check everything works and save your changes before you finish.
More about guest consent
Collecting data and recording consent
Create custom surveys to collect guest data and record consent.
Survey data can be analysed, displayed in prints, and used to separate images into different folders.
Information screens
To add a detailed GDPR compliant privacy statement, terms and conditions or any other information screen(s) to your booth use DSLR Remote Pro Information screens.
Coming soon
Watch out for DSLR Remote Pro 3.19, which will introduce a new way to create simple surveys.
© Breeze Systems May 2023


You must be logged in to post a comment.